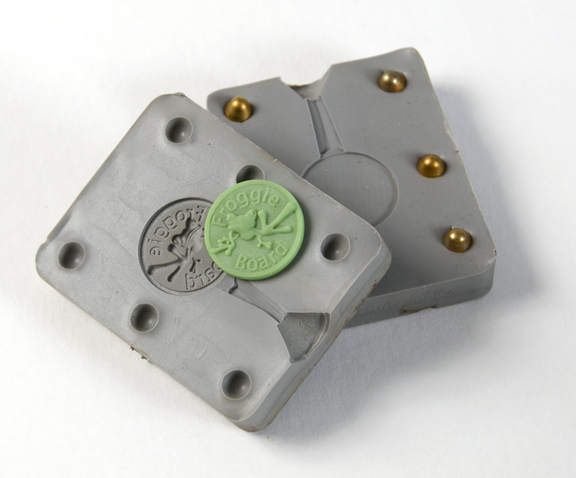
General Care and Feeding
 Froggie Board can be molded at temperatures up to 325 degrees Fahrenheit, however, it is recommended that molding be done at temperatures at or below 300 degrees F.
Mold may need to cool prior to demolding. Mold release may be required.
Due to the numerous processes and materials available, some experimentation may be required. Froggie Board typically resists moisture, solvents, and dilute acids and can be primed and painted.
Use of urethane molding compounds is not recommended.
User must determine suitability of the product for the intended application and assumes all associated risks and liabilities.
Recommended Procedure for Vulcanizing Froggie Board
When making molds, most normal procedures for traditional molding should be followed, however, there are a few process changes that should be noted:
- Vulcanization temperature should be no more than 300 F which may be lower than typical temperatures. Do not use indicator dial on vulcanizer for precise temperature measurement since this can vary by as much as 50 percent.
- The vulcanizer should be calibrated on a regular basis.
- If 300 F is lower than your normal molding temperature, increase vulcanizing time to offset lower molding temperature.
- If desired, lightly spray plastic compatible mold release on Froggie Board part.
- Proper mold packing is a very important. Place equal amounts of rubber on bottom and top of the Froggie Board model ensuring that all parts of the model are properly supported. Rubber should rise just slightly above the edge of the mold frame. If model is hollow-backed, pack the hollow area with rubber pieces.
- Put metal plates on top and bottom of packed frame and place into the vulcanizer. Bring platens together until they are in slight contact with the mold plates using only minimal pressure. Heat the rubber to a dough-like consistency which will take approximately 5 minutes. Once the rubber reaches proper consistency, apply final pressure. Keep a careful watch on this stage. If final pressure is not applied at this critical point, the rubber will cure and become unusable.
Do not re-adjust pressure after final pressure has been applied.
- Cut model from mold using standard rubber mold cutting techniques.
Trouble Shooting
|
Distorted models: |
-Too much pressure before mold reaches dough-like stage
|
|
Broken models: |
-Temperature too high |
|
Incomplete fills: |
-Under packed model |
|
Rubber sticking to mold |
-Temperature too high |
Click here to download these instructions in .pdf format
